The Helmet

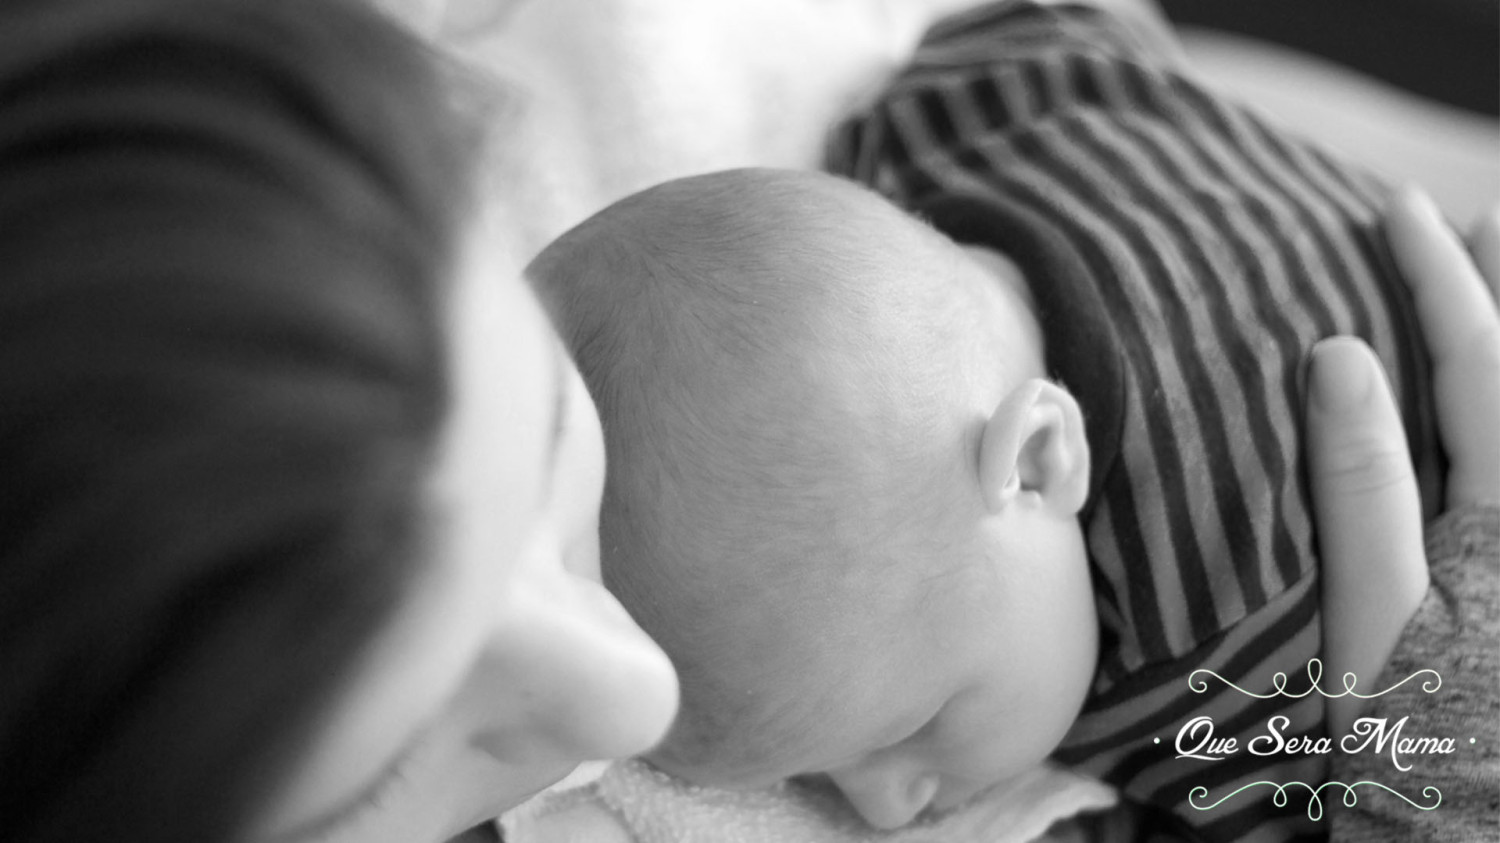
 My son has a helmet. Of course, I don’t like it. It stinks (literally), and it is a hassle to change his clothes.

The worse part of this whole experience though is that I don’t like how people stare at him. It is mostly adults, too. I hate it for him, even though he is completely unaware. I see people point with not so hushed, “Did you see that kid? What is wrong with him?” comments. At church, I even had a nursery volunteer ask, “What is wrong with your son?” Ouch.

Let me answer, once and for all, nothing is wrong with my son. We chose to get him a helmet to reshape his head for a flat spot he had. Nothing is wrong with his brain; he is completely normal. No, I did not keep him on his back all of the time. I constantly interacted with him. I don’t know why this happened. Regardless, I explain it like braces. While there are medical reasons for braces, such as an overbite, let’s be real…we all got braces to have pretty smiles. We got a helmet so our son would have a pretty head shape.

Before my son had this helmet, people would constantly gush over him. Now, we either get stared at or ignored. I think people purposefully look away out of kindness, not wanting us to feel like they are staring. I understand this. I am pretty sure I do this when I see someone “different”. I fidget. I grab the phone. I avoid eye contact. Now, as a mother of someone who looks, albeit temporarily, “different”, let me give you advice…. don’t act different. If you normally are the type that gushes over babies, approach that helmet baby and notice the same features you would have cooed over before.

I’ll never forget pulling up to the check out line at Publix. I could tell the cashier noticed my son. I was expecting silent stares or, heaven help me, another comment on what was wrong with him or me for having him in it. Much to my surprise, she gushed over how adorable my son is and how beautiful his blue eyes are. I could have cried. She was able to just see my baby, not the helmet.

For those who are curious, I will answer the top three helmet questions I get:

  1. He wears it 23 hours a day. He gets an hour break to air out, get a bath, and for us to clean the helmet. (Not that it matters…it stinks like a cast no matter how hard we scrub.)
  2. Yes, he sleeps soundly in it.
  3. No, it doesn’t bother him. Oddly enough, when he has the helmet off, he seems to miss it.

Only 3 more weeks until we are done with this headgear. My only concern is that our son has gotten quite used to bumping his head on things without any care in the world. As someone else said, that will only happen once.

Baby’s first Pinterest Art


I am not an artsy person. However, I am extremely sentimental. When I was little, I saved my unused napkin from Disney World because it has the pretty picture and quote on it.

All that to say, if you are a sentimental Mamma, that is all the skill set you need.

Naturally, this all began with Pinterest. I was inspired by discovering a recipe for safe,homemade finger paint while trying to find sensory activities for my 9 month old. From there, I decided to make a canvas painting. Then, I thought to add the words of my son’s favorite song. I went to Hobby Lobby and fortunately found all of my main components to be 50% off. Score.


What you need:

  • Finger paint
  • Canvas
  • Scrapbooking Letters
  • Dropcloth (in my case, plastic tablecloth)
  • Baby wipes and paper towels

What you do:

  1. Make baby paint.
  2. Putt scrapbook letters on the canvas in whatever phrase you want on the canvas. Get creative…baby’s name, favorite song, nursery rhyme, or Bible verse.
  3. Lay out project on a dropcloth. We opted for outside. First, it is easier to be messy. Second, better lighting=better pictures of baby painting for the first time.
  4. Plop paint on the canvas and brace yourself.
  5. Be flexible. Sure, my son got grass all over the canvas. But I decided I liked it better. It’s part of the memory.
  6. Allow to dry. This could take longer than normal paint.
  7. Peel off scrapbook letters, if you prefer.
  8. Mount the masterpiece in your home. Bonus idea: hang pictures of your baby painting around the masterpiece.

This was such a special project, and it cost less than $10. Did it come out Pinterest perfect? No, but it is now the most valuable, cherished piece of art in our home. My husband, mom, and I could not stop laughing as we watched my son explore this new endeavor.


Homemade White Bread

Who doesn’t love homemade bread? With all of the winter snow/ice mix predicted this week, I decided not to face the bread/egg/milk shopping craze and make it on my own.

This is one of those rare things that will make you feel like the queen of domesticity! But, trust me Mamas, this is going to be the easiest thing you will do today with the help of this MVP: the Bread Machine.

This is my classic White Bread recipe that I have tweaked over the years. It is a quick assembly, giving you just enough time to accomplish for your baby’s naptime. I hope you enjoy!

Ingredients:

  • 1 c and 1 T of warm water
  • 1 large egg
  • 4 1/2 t vegetable oil
  • 3 1/4 c bread flour (make sure it is bread flour!)
  • 1/2 c sugar
  • 1 1/2 t salt
  • 2 1/4 t instant yeast

Directions:

  1. Place all ingredients in the bread pan order recommended by the manufacturer. (For mine, it is all liquids first, dry ingredients, and yeast last.)

    All of the ingredients dumped into the bread machine pan.

    All of the ingredients dumped into the bread machine pan.

  2. Select the basic or white bread setting. Pick the 2 lb loaf size and the crust color option you prefer (I like light).
  3. Press start and go tend to your now waking baby.

It’s as easy as that. Your bread machine will beep when it is done (it’s a long process…mine takes 3.5 hours!). You let it cool about ten minutes. Your family will no doubt be circling the kitchen island from the amazing smell that has been permeating your home. For my family, it’s tradition to cut off a warm slice and spread on some butter, honey, and cinnamon. Mmhmm.

IMG_2805

Let cool for 10 minutes.

Soon, you will be bombarded with wonder, “You took care of a baby and made homemade bread?!??” You nod. Yes. Yes, I did.

IMG_2810

Finished product!

Recipe Variations:

  • DINNER ROLLS. This also makes delectable dinner rolls. Follow the same ingredients. When you select the setting on your machine, chose Dough. Grease a 9″ x 13″ pan. Shape the dough into balls (makes about 15 or so). Let them rise in a warm place (about double the size). Bake at 350 degrees for 12-15 minutes, until a nice golden brown. Brush the tops with melted butter.
  • GARLIC BREAD. After you have made the normal bread recipe, turn on your Broiler in your oven. Brush slices of the bread with butter, garlic salt, parmesan cheese, and parsley. Broil the bread for a couple minutes, until desired texture. So yummy, so quick!